How to Create a NSG and Create Rules for it in Azure
Create the NSG-Frontend NSG
To create the NSG-FrontEnd NSG, complete the following steps:
- From a browser, navigate to https://portal.azure.com and, if necessary, sign in with your Azure account.
- Select + Create a resource > > Network Security Groups.
- Under Network security groups, select Add.
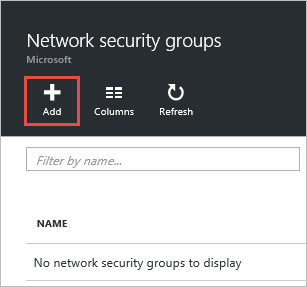
- Under Create network security group, create an NSG named NSG-FrontEnd in the RG-NSGresource group, and then select Create.

Create rules in an existing NSG
To create rules in an existing NSG from the Azure portal, complete the following steps:
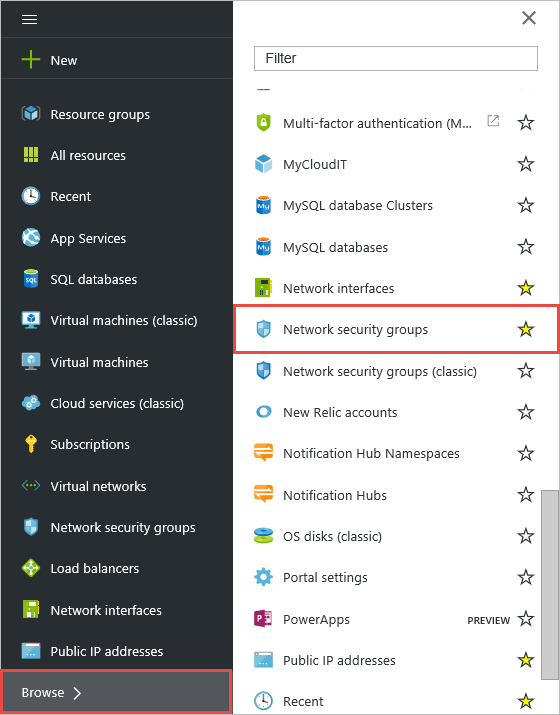
- Select All Services, then search for Network security groups. When Network security groups appear, select it.
- In the list of NSGs, select NSG-FrontEnd > Inbound security rules

- In the list of Inbound security rules, select Add.
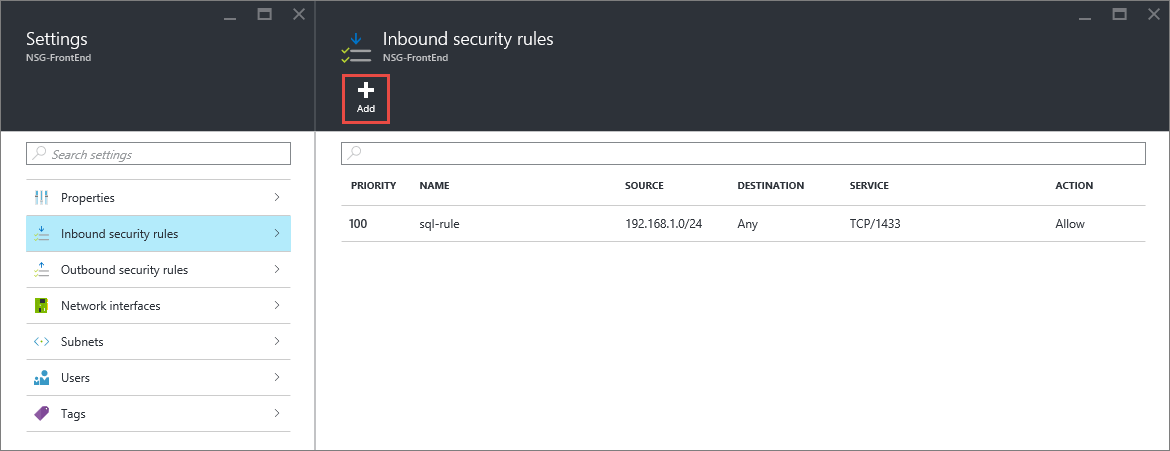
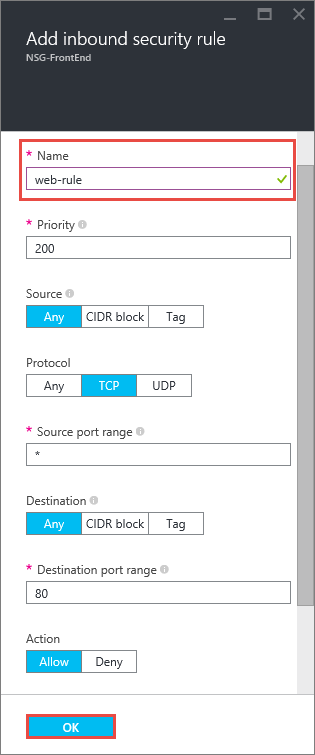
- Under Add inbound security rule, create a rule named web-rule with priority of 200 allowing access via TCP to port 80 to any VM from any source, and then select OK. Notice that most of these settings are default values already.
- After a few seconds, you see the new rule in the NSG.

- Repeat steps to 6 to create an inbound rule named rdp-rule with a priority of 250 allowing access via TCP to port 3389 to any VM from any source.
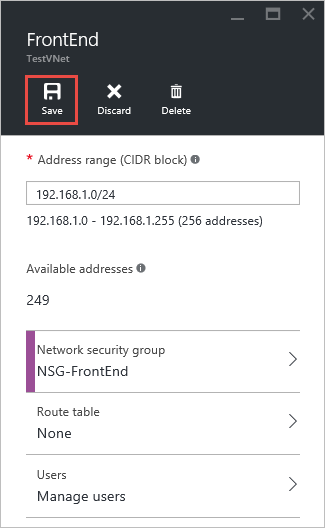
Associate the NSG to the FrontEnd subnet
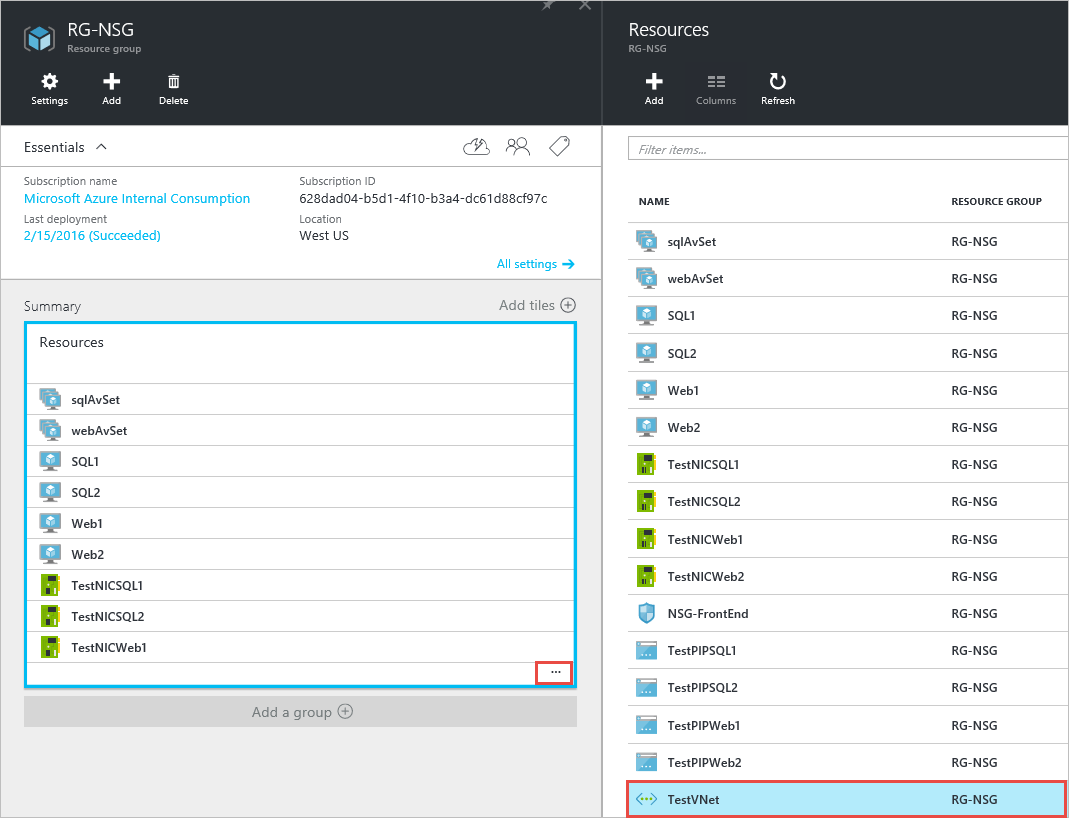
- Select All services >, enter Resource groups, select Resource groups when it appears, then select RG-NSG.
- Under RG-NSG, select ... > TestVNet.
- Under Settings, select Subnets > FrontEnd > Network security group > NSG-FrontEnd.
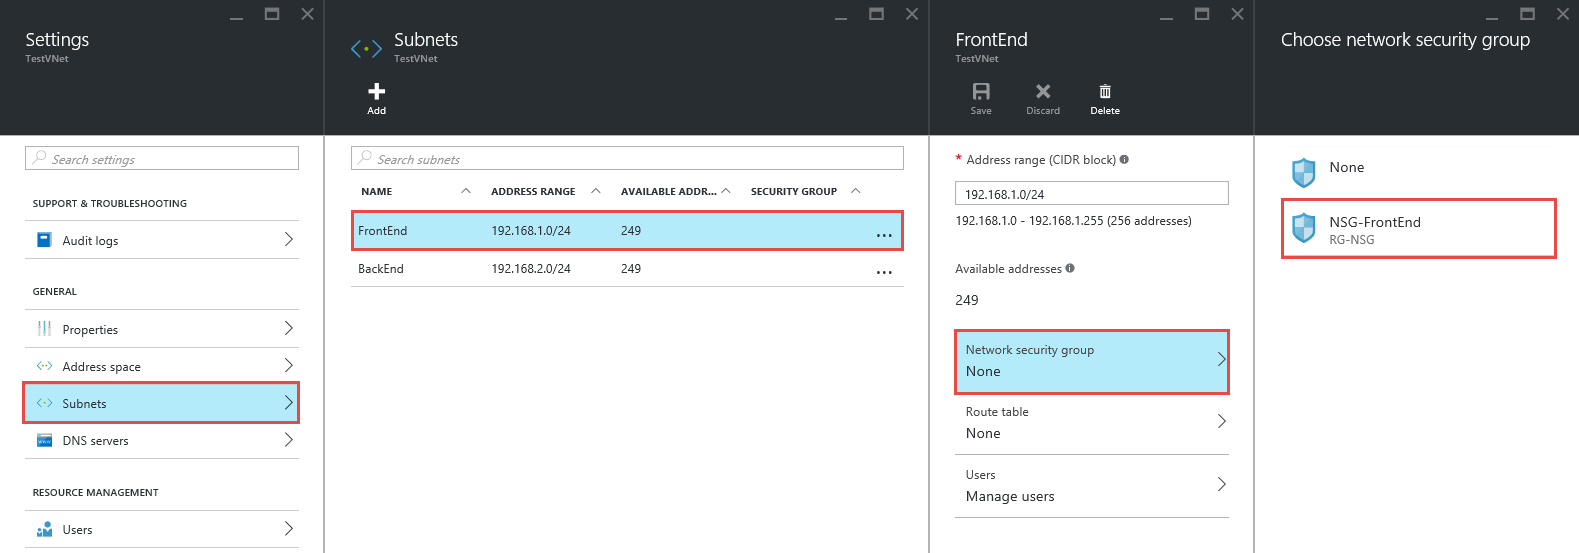
- In the FrontEnd blade, select Save.